Tuesday, September 27, 2011

Buffalo Chicken Bites

I made these for the first football weekend too....just haven't had time to post it. I didn't eat or cook these, Jeremy was in charge of it and ate them while I was gone. They were eaten tho, so I am pretty sure they were good....I will cook them again.

Ingredients:

  • 3 cups shredded cooked chicken
  • about 1/2 cup hot sauce.....I didn't really measure, just added until it looked ok.
  • 3 1/2 oz. softened cream cheese
  • 1 3/4 cup shredded cheese
  • 1/4 cup chopped green onion
  • 1 cup all purpose flour
  • 4 eggs beaten
  • about 3 cups crushed corn flakes
Steps:
  • If you are making them same time/day - preheat your oven to 350
  • In large bowl, mix chicken, cream cheese and hot sauce until well mixed

  • Add in onion and cheese, mix.


  • Form mixture into 1- 2 inch balls and set out on wax paper
  • In 3 small bowls, separate flour, eggs and corn flakes.


  • Drop the chicken into the flour, then eggs, then corn flakes one at a time until well coated.


  • Place on to baking sheet if cooking now, or a baking sheet w/ wax paper if cooking later.

  • If cooking now - put in oven for about 30 minutes to crispy golden brown.
  • If cooking later - flash freeze for about 15 minutes, remove from freezer, place in freezer bags and freeze until ready to cook.
  • Remove from freezer bags, place on baking sheet, cook for 30 minutes
  • Serve with bleu cheese or ranch dressing.
  • Enjoy!  (Sorry no pictures were taken after they were cooked....)

Wednesday, September 7, 2011

Chalkboard Wine Glasses (not food....just wanted to share)

As you know....i'm pretty much obsessed with Pinterest. I found these and had to make them; fun and easy way to make sure you don't accidentally pick up someone elses wine glass, and easily washable!.....the instructions I found on interest used Spray chalkboard paint and I wasn't too keen on that idea, so I did some research and made my own........this is how mine turned out:


You'll Need:
  • Wine glasses (CLEAN)
  • Chalkboard paint (I got mine at Hobby Lobby - $3.50)
  • Light sand paper
  • Paint brush
  • Chalk (but I would suggest buying a chalk-marker---- I don't have one, but I heard they are much better and easier than regular chalk - plus I found after painting them, that if you push down to hard with the chalk, the paint can chip.

Steps:
  • Start with a very clean glass
  • Lightly rub the base of the glass with sandpaper
  • wipe off the base with a damp cloth
  • dry the base with a dry cloth
  • if you feel the need to make sure you have a straight line - you can use painters tape - I just guessed and mine turned out ok
  • paint one coat of paint onto the glass in a vertical direction 
  • let paint dry for 1 hour

  • paint another coat on in a horizontal direction
  • let dry 
  • let glasses set for 24 hours
  • use the side of a piece of chalk and rub on the side of the glass to "prime" it.
  • wipe the chalk off with a piece of a dry paper towel and then wash it off with a damp paper towel
  • Write on it with chalk (LIGHTLY)


Saturday, September 3, 2011

Peanut Butter Cup Brownies (For Football....of course)

Also found this on Pinterest and adapted my recipe from Baked Perfection.
I told Jeremy I would make a few things for the first Saturday football game, as we are going to some friends house to watch football (the guys will watch EVERY game on TV.....)

So here is the recipe.....they are delicious (we had to try a couple of them to be sure, before we served them)

(forgot to take pictures until I was almost done....sorry)

Ingredients:

  • 1 box of brownie mix (any kind you want)
    • 1 egg, oil and water for the brownie mix (but check your box first)
  • Peanut Butter chips (about 1/2 cup)
  • Semi-sweet Chocolate Chips (about 1/2 cup)
  • 3/4 cup creamy peanut butter
  • mini muffin pan (mini muffin cups if you want....I didn't use them)
Steps:
  • Preheat oven to 350
  • Mix brownie mix as directed
  • Spray mini muffin pan with cooking spray (it may be easier to use the muffin cups, I had to wait on mine to cool completely in order to get them out of the muffin pan w/o breaking the bottoms off)
  • Pour brownie mix in to muffin pan, about 3/4 of the muffin cup.
  • Put in oven and cook for about 13 minutes, until the tops are soft
  • Remove from oven, take the back of a teaspoon spoon and gently push the centers down so there is a cup to put the peanut butter in.
  • Microwave the peanut butter for about 30-45 seconds until runny.
  • Fill the empty space of the brownie with peanut butter
  • Top with peanut butter chips and chocolate chips (I used about 3 each for each brownie)

  • Let cool completely before removing from muffin pan (you will probably need to go around the edge lightly with a knife to make sure it's not sticking to the pan)
  • ENJOY!

Friday, September 2, 2011

Mini Pizza Bites

My new obsession with Pinterest led me to this recipe, I adapted mine from For the Love of Cooking.  I make a lot of pizza....probably b/c it's Jeremy's favorite....and the day I came across the recipe I was bored and actually had all the ingredients in my kitchen....so I decided to try it out. It would be a great thing to make for a party or for kids!


(sorry, didn't take pictures when I started cooking)

Ingredients:

  • 1 package Grands Biscuits
  • Pizza Sauce
  • Shredded Mozzarella Cheese
  • Pepperoni (and any other toppings you prefer)
  • Pizza Seasoning (or Oregano and basil)
  • Parmesan Cheese
  • Cooking Spray
  • Muffin Pan
Steps:
  • Preheat oven to 375
  • Spray muffin pan with cooking oil
  • Cut the grands biscuits in half, flatten out slightly and push into the muffin pan onto the bottom and halfway up the sides

  • Place about a tbsp. of pizza sauce in each biscuit
  • Put any toppings (other than pepperoni you want in the pizza)
  • Place about a tbsp. of mozzarella cheese into the pizza
  • Place a pepperoni on top, cover with a little more cheese if you like.
  • Sprinkle top with parmesan cheese and pizza seasoning
  • Place in oven and cook for about 15 minutes until the crust is golden brown and the cheese is melted
  • Let sit for a few minutes, the pizza should just slide right out of the pan.
  • Enjoy!

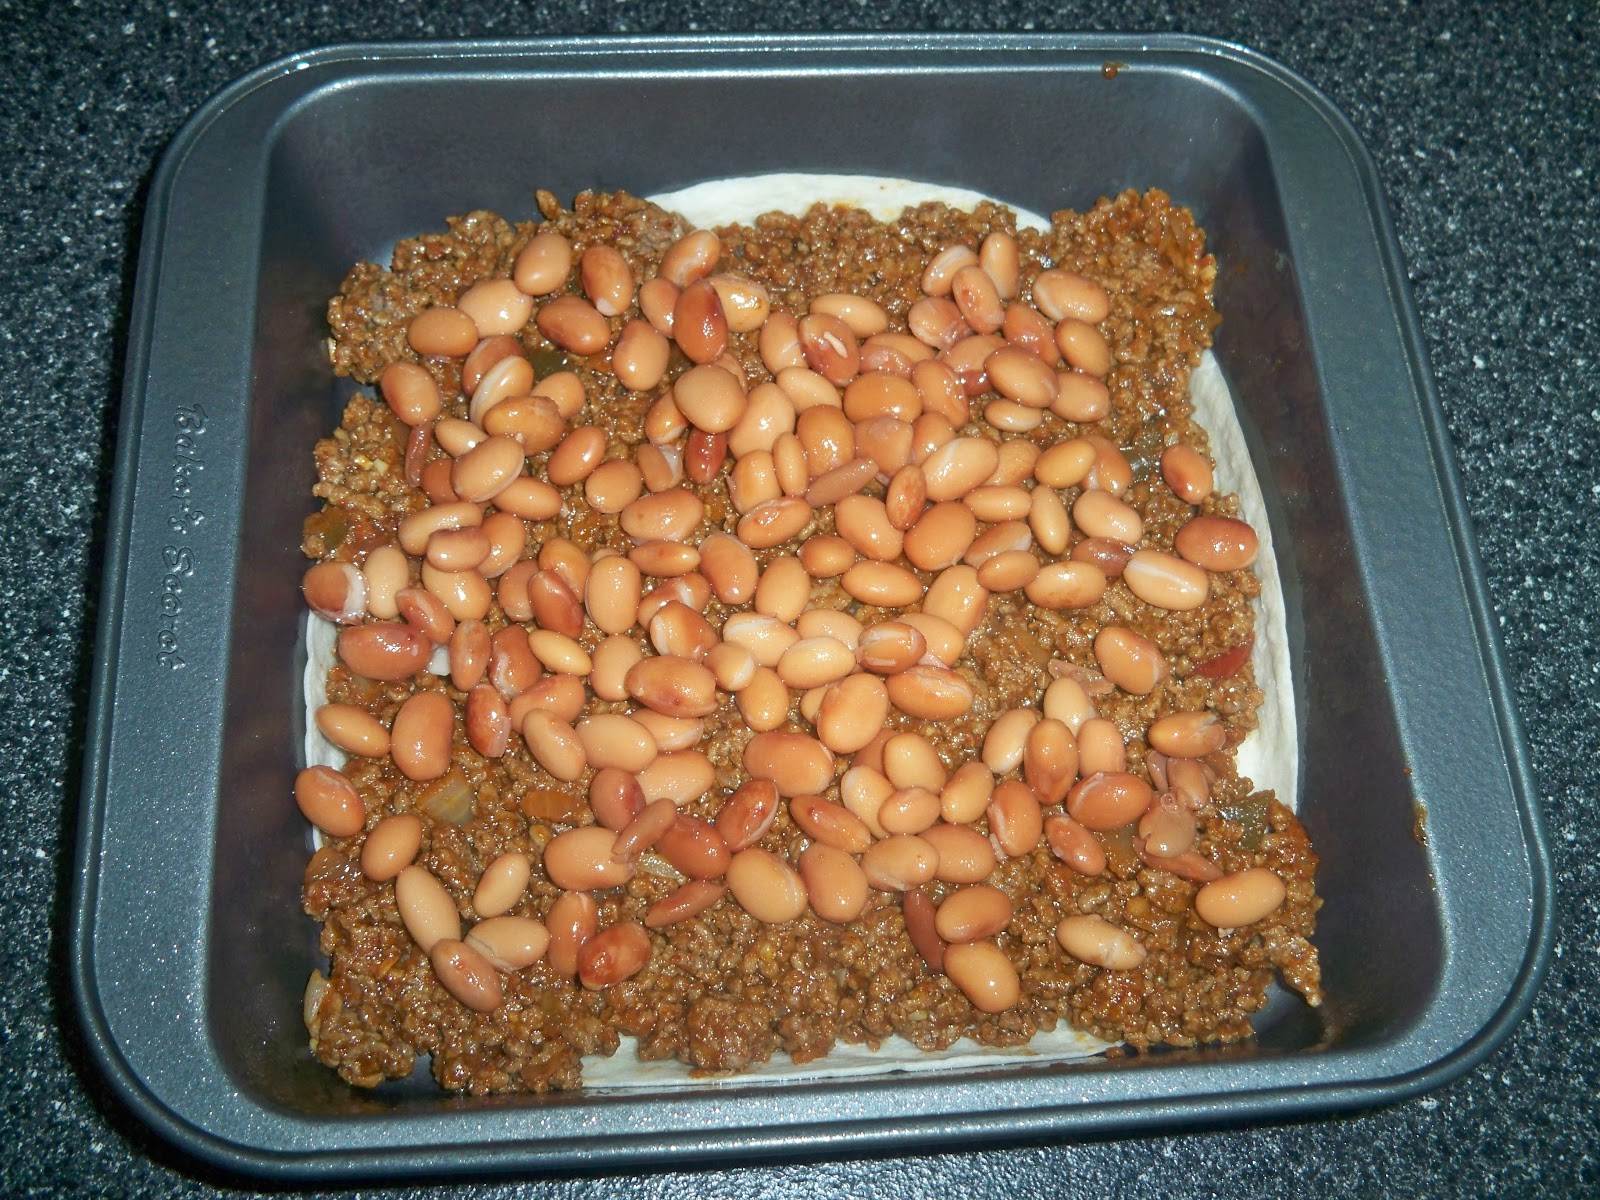
Mexican Lasagna

I haven't updated in awhile....oops.
I actually got this recipe on the back of a Kraft Mexican 4 cheese Shredded Cheese bag, very easy and yummy!


Ingredients:


  • 1 lb. ground beef
  • 1 pack taco seasoning
  • 3 - 8inch soft tortillas
  • 1 8 inch baking dish
  • 3/4 cup salsa
  • 1 can pinto beans - rinsed and drained
  • about 1/2 bag of Kraft mexican 4 cheese shredded cheese and about 1/4 of a bag of shredded pepper jack (but you could just use the mexican cheese if you wanted - we just had some pepper jack, so I used it)

Steps:
  • Preheat oven to 400

  • Brown meat in skillet, drain off grease, add in salsa and taco seasoning, stir, let simmer for 10 minutes


  • In your baking dish, spray with cooking oil, place one 8 inch tortilla in the bottom of the dish.

  • Apply half the meat mixture, half the pinto beans, and cover with cheese (use as much as you need)


  • Top with another 8 inch tortilla
  • Top with the rest of the meat mixture, the rest of the pinto beans and the rest of your cheese (as much as you like)
  • Top with last 8 inch tortilla
  • I spray a little cooking spray on top of the tortilla so it will crisp a little in the oven
  • Cover and put in the oven for 30 minutes, let sit and cool for about 5-10 minutes before cutting and serving!


  • ENJOY!

Tuesday, July 26, 2011

Stuffed Pizza

I have tried to make this before after Jeremy and I watched an episode of Man vs. Food and he ate one in Chicago.....the first ones turned out OK....but they seemed to sort of fall apart once they were cut, and the crust never really got crispy.....so after doing much research today, I found someone who made one using a springform pan - genius - why didn't I think of that?!?! So.....I made one and it turned out much better - blog worthy, I guess. If you like pizza - try it - it's really not hard at all.  (Plus, I cheated a used store bought pillsbury pizza crust, just unroll it.)

Ingredients:

I didn't end up using the spinach, it was still frozen & I'm impatient.

  • 2 pillsbury pizza crusts
  • 1 Springform pan
  • Some Mozzarella cheese - I used about 1 bag
  • Olive oil/cooking spray to spray pan
  • Pizza/Marinara Sauce
  • Whatever ingredients you like in your pizza, I used:
    • Pepperoni
    • Sausage
    • Yellow Bell Pepper - chopped (about 1/4)
    • 1/4 onion - chopped
    • 1/4 red bell pepper - chopped
Steps:
  • Preheat oven to 400
  • Spray bottom and sides of springform pan w/ cooking spray
  • Place pizza dough over top of springform and allow to fall down in, keeping some excess over the sides for tucking in at the top - you may have to cut a little off some of 2 of the sides to ensure the other 2 sides have enough dough.

  • Take about a handful of cheese and sprinkle it in the bottom on top of the dough

  • Mix the rest of your toppings - peppers, onion, sausage (minus the pepperoni) and then pour into the crust

  • Top with pepperoni

  • Then top with cheese (the amount you prefer)

  • Then cut the top crust to the size of the top of your pizza, and fold over the excess edges onto it, like you would a pie.

  • Cut a few slits in the top to allow steam to exit during cooking
  • Spread some marinara on the top of the pizza, leaving the edges clean

  • Top with a little cheese for garnish
  • Place in the oven for 25-30 minutes until the crust is to your liking
(1/2 way done....)
  • Remove from the oven, and immediately remove the outer case of the springform pan


  • Let the pizza cool like this for about 10 minutes before cutting so it doesn't fall apart.

  • ENJOY! It was definitely delicious and very filling!